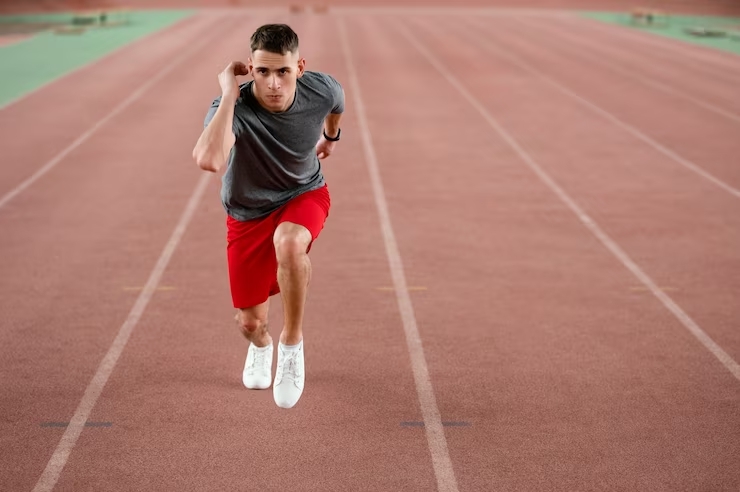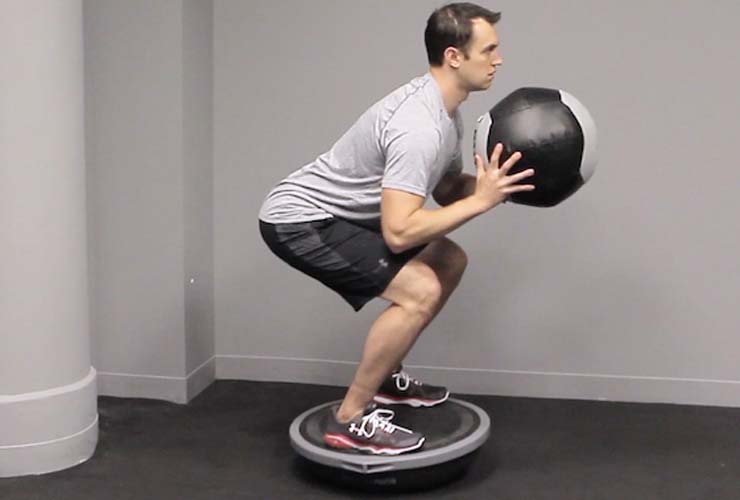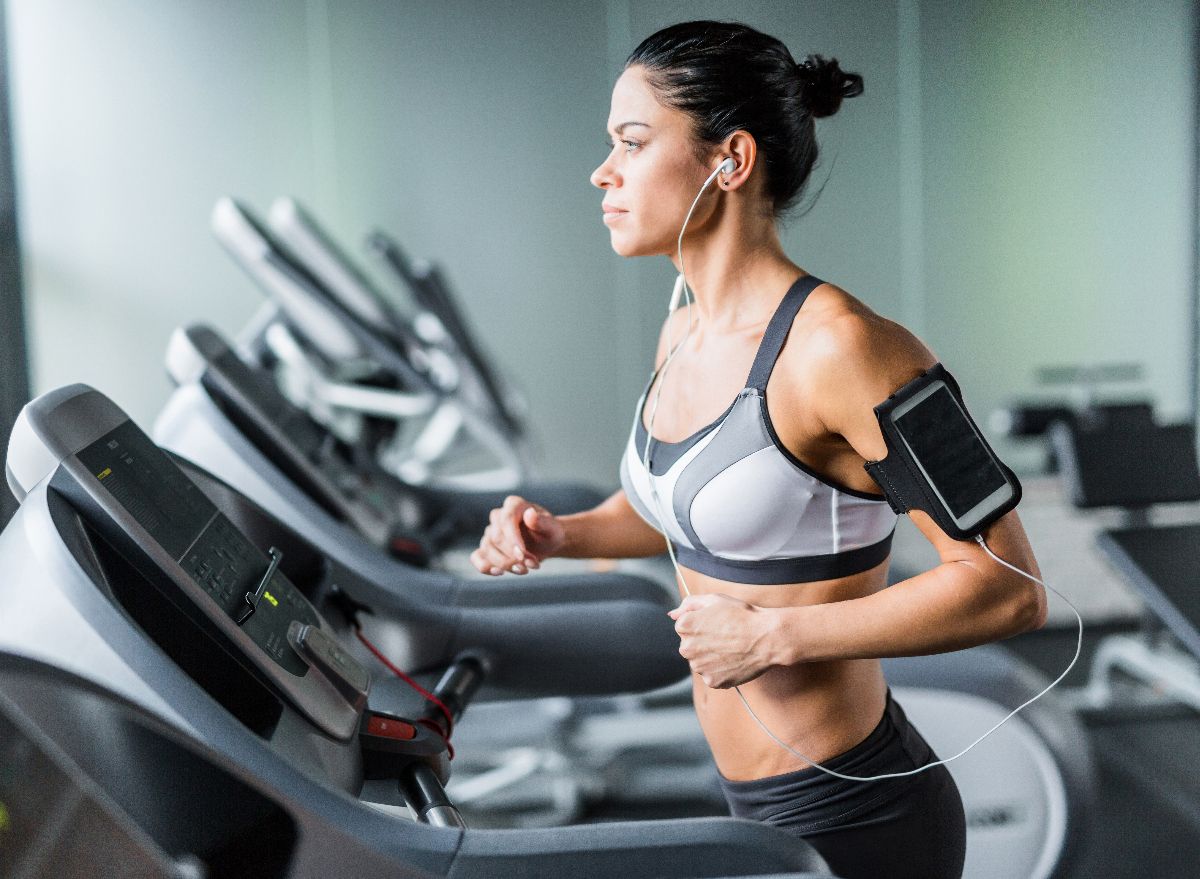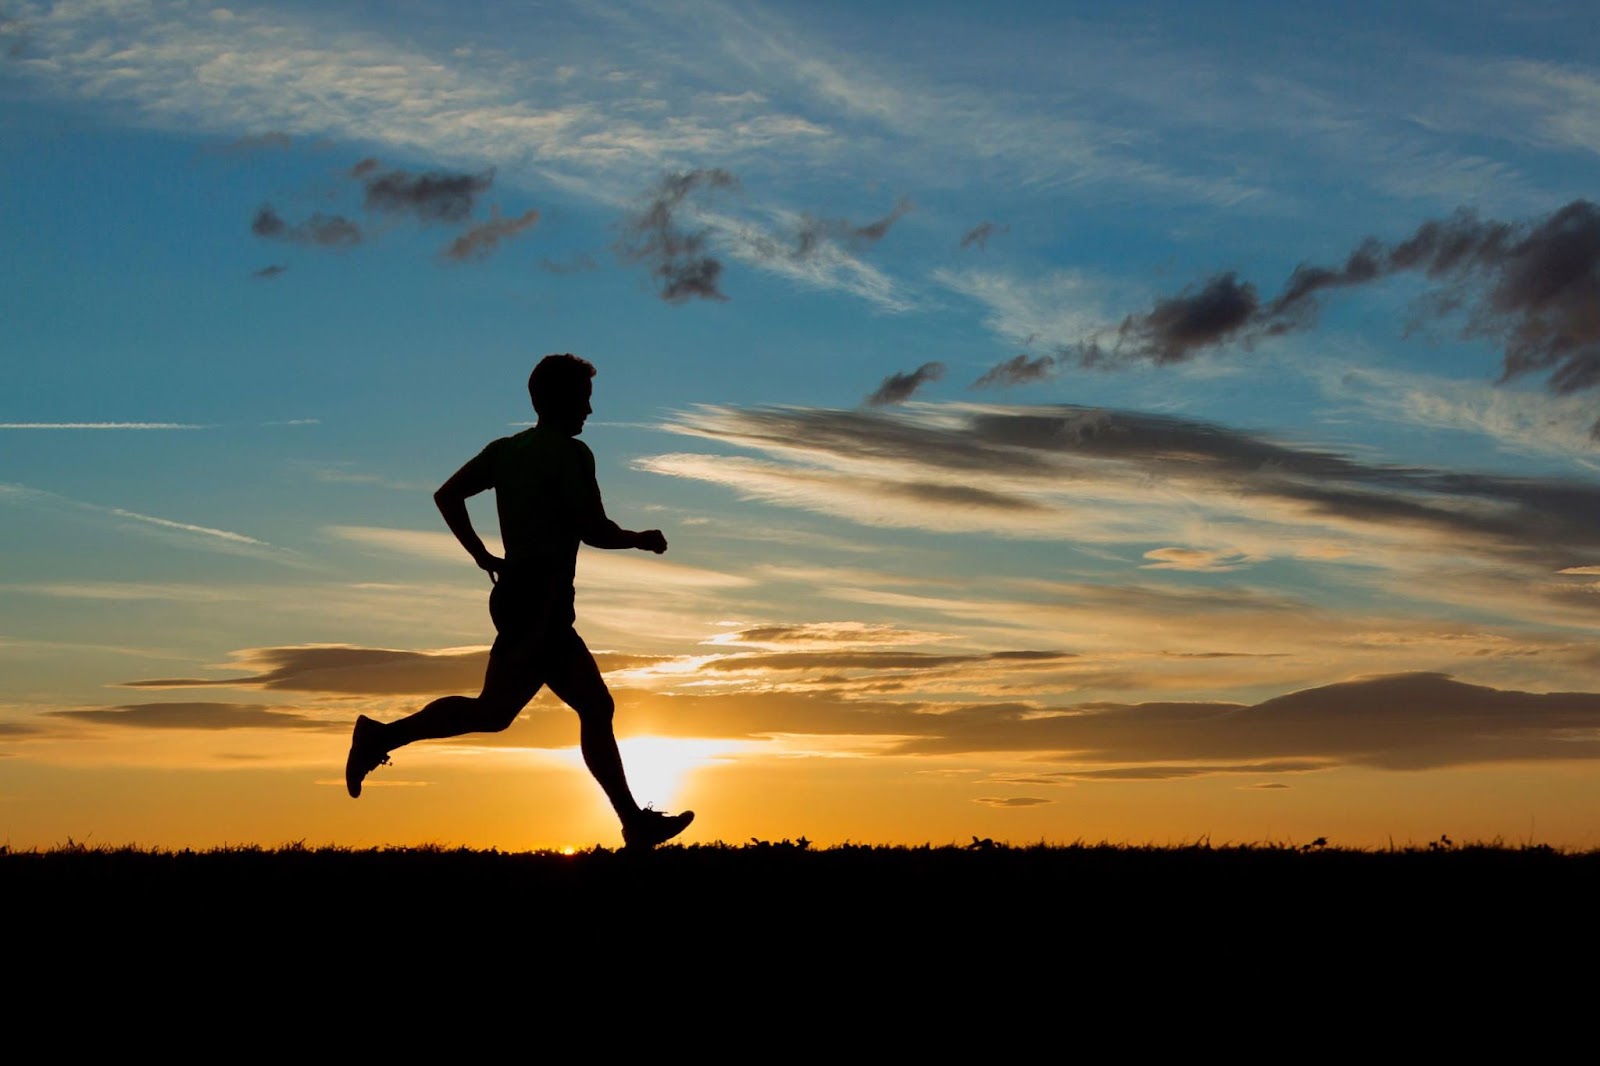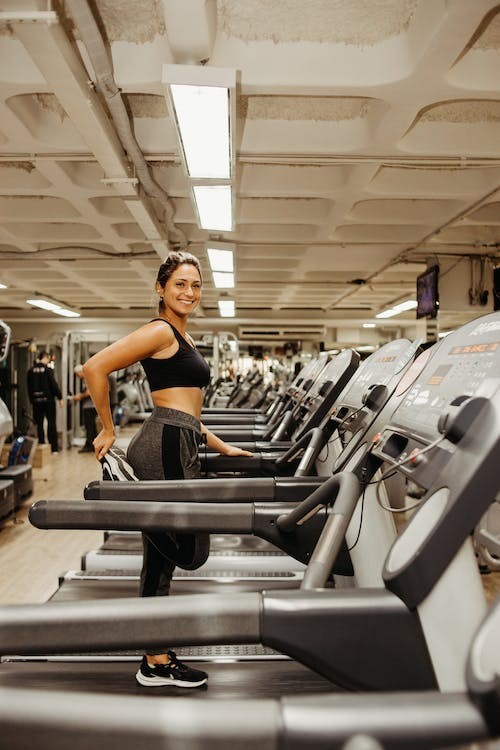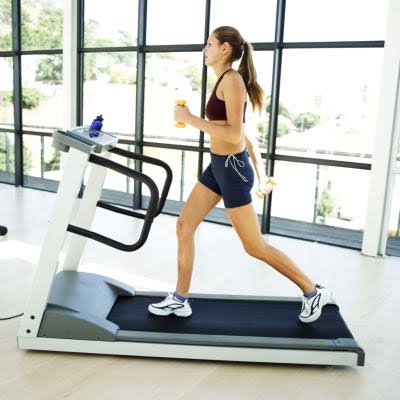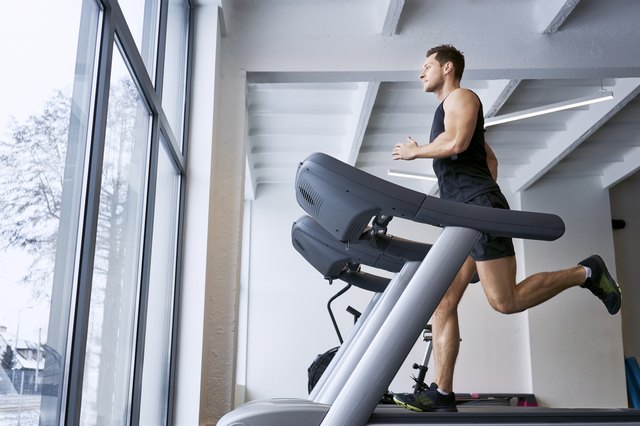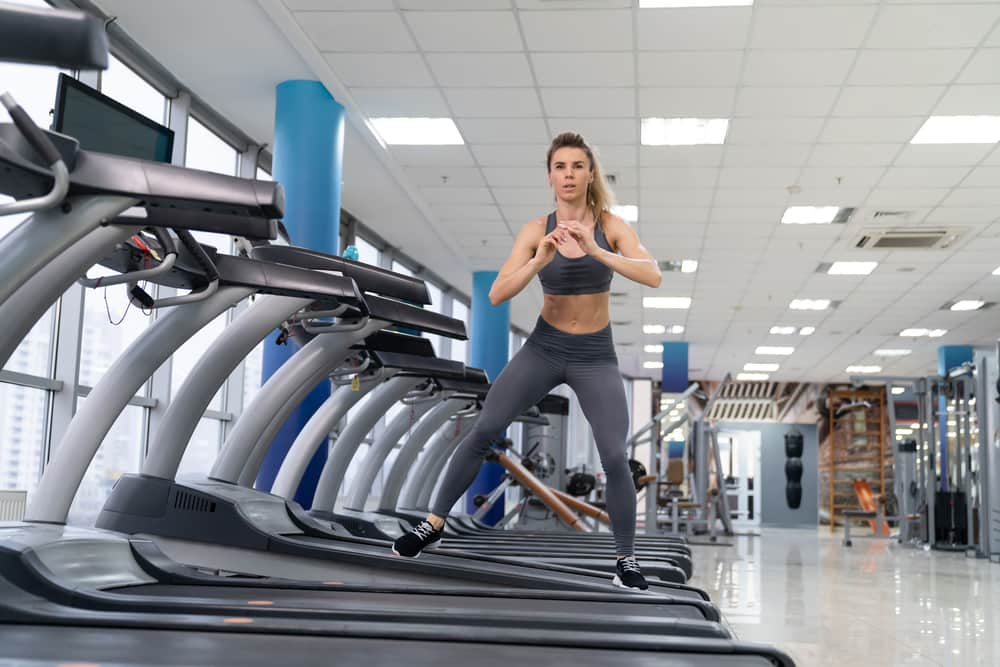
Buying a treadmill is often the easy part. Using it consistently is where most people struggle. The first few days usually feel exciting. You hop on, finish a 30-minute walk, and feel great about starting a healthier routine. A few weeks later, though, the excitement starts wearing off. Walking at the same speed while staring at the display every day can quickly become repetitive, and that’s when many treadmills begin collecting dust. The good news is that you don’t need to run marathons or follow complicated workout plans to make your sessions more enjoyable. Sometimes, changing one small thing, your speed, incline, or even the goal for the day, is enough to make the workout feel completely different. If your treadmill routine has started to feel stale, these simple workout ideas can help bring it back to life.
1. Change Your Speed Every Few Minutes
Most people pick one comfortable speed and stay there until the workout ends. It’s easy, but it also makes time seem much slower. Instead, treat your walk like a series of short challenges. Walk comfortably for a few minutes, then increase the speed just enough that you notice your breathing becoming heavier. Stay there briefly before slowing back down. The constant change keeps both your body and your mind engaged. Before you know it, half an hour has gone by without feeling like a chore.
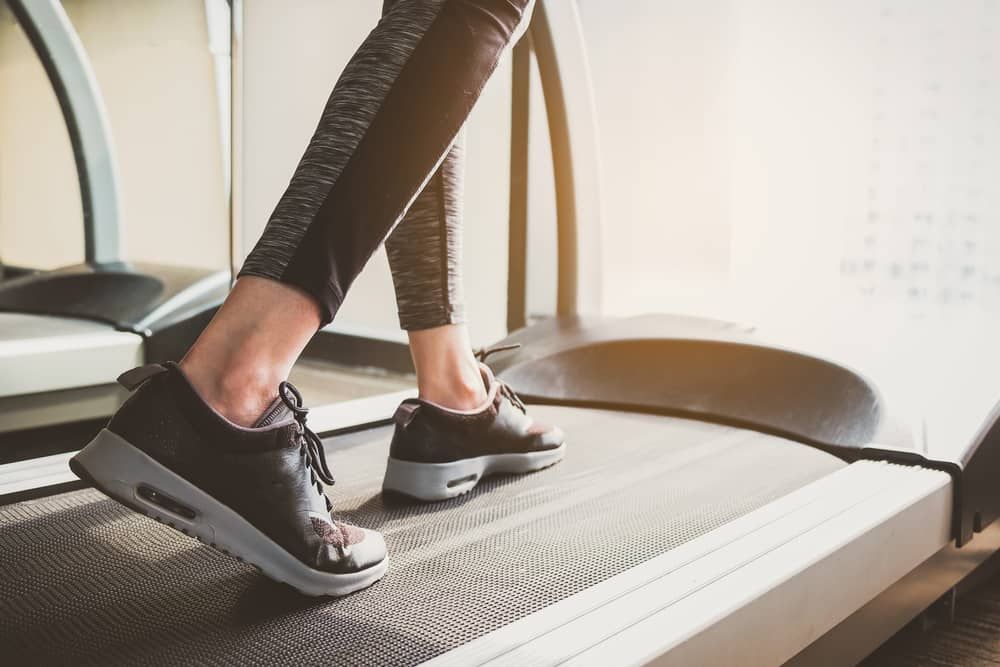
2. Let the Incline Do the Hard Work
You don’t always have to walk faster to make your workout more effective. Adding a gentle incline can completely change how your legs and core work, even if your pace stays exactly the same. It feels surprisingly different from walking on a flat surface, and many people find it more comfortable than trying to jog. If you’ve never used an incline before, start small. Even a slight elevation is enough to make your muscles work a little harder.
3. Build Up Slowly, Then Ease Back Down
Think of this workout like climbing a hill. Start with an easy pace, increase the speed every few minutes until you reach your fastest comfortable walk, then gradually slow things down again. There’s something satisfying about building towards a peak instead of maintaining the same intensity from start to finish. It gives your workout a sense of progression, making it feel shorter than it actually is.
4. Mix Fast Walking With Easy Recovery
Not every workout has to leave you exhausted. One of the simplest ways to burn more calories is to alternate between brisk walking and a slower recovery pace. After pushing yourself for a couple of minutes, slowing down feels rewarding instead of boring. Because you know another faster section is coming, the easier periods don’t feel wasted, they become part of the challenge.
5. Challenge Yourself With Incline Levels
Instead of adjusting speed, spend the session experimenting with different incline levels. As the elevation increases, you’ll notice your calves, glutes, and hamstrings working much harder. When you return to a flat surface, walking suddenly feels effortless. It’s a simple change, but it makes the workout feel completely different without asking you to run.
6. Stop Watching the Clock
Watching every minute pass can make even a short workout feel endless. A better approach is to focus on distance instead. Tell yourself you’ll walk three or five kilometres rather than exercising for thirty minutes. Mentally, it feels like you’re working towards a destination instead of waiting for time to run out, and that small shift often makes workouts much more enjoyable.
7. Match Your Pace to Your Playlist
Music has a bigger impact on workouts than most people realise. You’ll naturally walk faster when an energetic song comes on and slow down during calmer tracks without even thinking about it. Instead of forcing yourself to follow a rigid routine, let your playlist decide the pace. It feels less like exercise and more like moving with the music, which is exactly why so many people stick with it.
8. Add Short Jogging Breaks
If walking has started feeling too easy, there’s no need to jump straight into long-distance running. A short jog every few minutes is enough to introduce variety without making the workout intimidating. Even sixty seconds of jogging can raise your heart rate before you settle back into a comfortable walk. Over time, those small jogging intervals become easier, and your endurance improves almost without you noticing.
9. Give Every Workout a Purpose
Some days, your goal might simply be to burn a certain number of calories. On other days, it could be reaching a step count or covering a longer distance than you managed last week. Having a clear objective changes how you approach the session. Instead of wondering when it’s going to end, you’re focused on achieving something, and that makes the workout far more satisfying.
Staying Motivated Is More Important Than Training Hard
One of the biggest mistakes people make is believing every treadmill session needs to be intense. It doesn’t. The workouts that deliver results are the ones you actually enjoy enough to repeat. Some days you’ll walk. Other days you’ll experiment with incline or add a few short jogging intervals. The variety keeps things interesting, and that’s often what turns exercise into a lasting habit rather than a short-lived challenge.
Choosing a Treadmill That Supports Different Workouts
Trying different workout styles is much easier when your treadmill offers multiple speed levels, incline options, and preset programs. If you’re looking for a model that comfortably handles everything from relaxed daily walks to more challenging interval sessions, the PowerMax Fitness TDM-97 Motorized Treadmill is worth considering. Its automatic incline, foldable design, and built-in workout programs give you enough flexibility to keep your routine fresh without making the experience complicated.
Final Thoughts
There’s nothing wrong with repeating the same workout now and then, but doing exactly the same thing every day is usually why motivation fades. A few small changes, a steeper incline, a quicker pace, a different goal, or even a better playlist can make your treadmill feel like a completely different piece of equipment. The best workout isn’t the hardest one; it’s the one you’ll still be doing a month from now.